Important Memories
Among the boxes of high school essays, old report cards, yearbooks, and dioramas, there are craft projects from your childhood you hold near and dear. Your crafts were important to you, and somehow, your parents knew to keep them safe.
Now that you’re an adult with children, it’s time to continue that tradition. After all, they’ll make their own memories as they’re finger painting in kindergarten or writing a poem on parchment paper for their fifth-grade chapbook.
There is a bounty of new and inventive ways of storing and displaying your children’s crafts. Here are four of our favorites:
1 – Treat Bulky Crafts like A Piece of Art
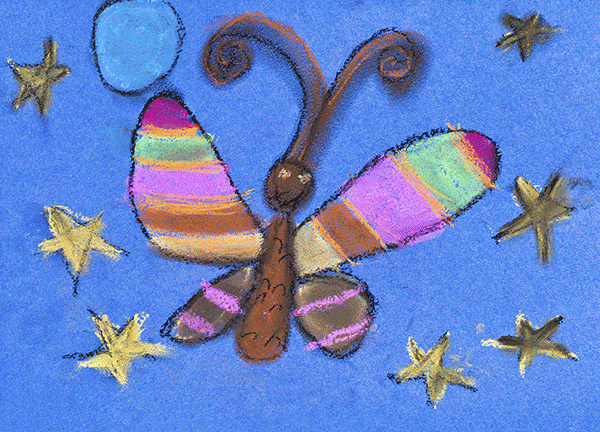
If your children’s craft projects are already collecting dust, treat it like a piece of art. First, remove residual dust by lightly dusting it with an artist’s brush. Then, display the craft in a shadow box. If you have to move or store the craft project, the shadow box prevents the craft from breaking or gathering dust.
2 – Memory Booking
For the collages, drawings, and paintings, a memory book or scrapbook may just be the way to go. By turning these items into a book, it consolidates space and keeps your children’s crafts in chronological order. Scrapbooks and memory books are made for bulkier and larger items, but if you feel a craft is too fragile or is already falling apart, scan the work of art and print it out. Have your child match their favorite crafts with photos to decorate each page.
3 – Upcycled Ornaments
One option for smaller crafts is to turn them into Christmas ornaments. The small friendship bracelets from summer camp, small hand-printed clay from kindergarten, and even a decorated poem on parchment can all be turned into wonderful ornaments for your tree. That way, the ornaments can remind you of the good times your children have had over the years.
Extra Tip: Want to know how to turn a poem on paper into an ornament? Here are a couple of ways; get a large clear ornament and place the poem inside the ornament, decorating it with glitter. Or, for something classic and festive, simply roll the poem like a scroll and tie it with a red or green ribbon.

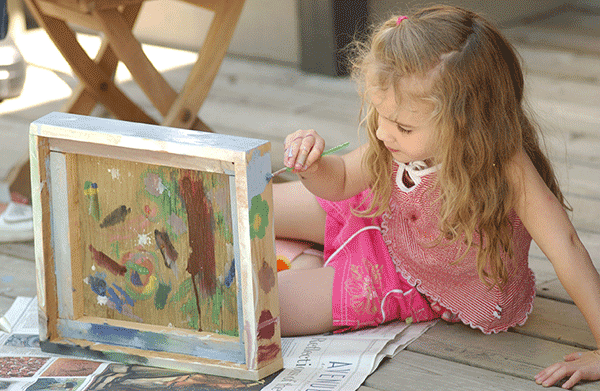
4 – Store in a Craft Area
For the more creative kids, a craft area is a must-have. There they can make an absolute mess with paper mache or color outside the lines onto the table and nothing is worse for wear. Place easy crafts into open large storage containers in shelving and closets for children to pick out and work on as they please. When the craft is done, rotate older crafts from the walls and shelves to continuously spark their imagination. Get the kids involved when decorating the storage containers or have them choose which crafts they want to display.
General Craft Storing Tips
After you’ve created new ornaments, decorated storage containers, or scrapbooked your way through your children’s crafts, chances are you’ll have some left over. Smaller items can be stored in folders while bulkier items can be placed in containers or sturdy boxes. If you want to store fragile pieces, foam, and packing paper work well to keep more fragile crafts safe and secure. Remember to keep arts and crafts in a cool dry climate; things like macaroni art won’t last in heat or humidity.
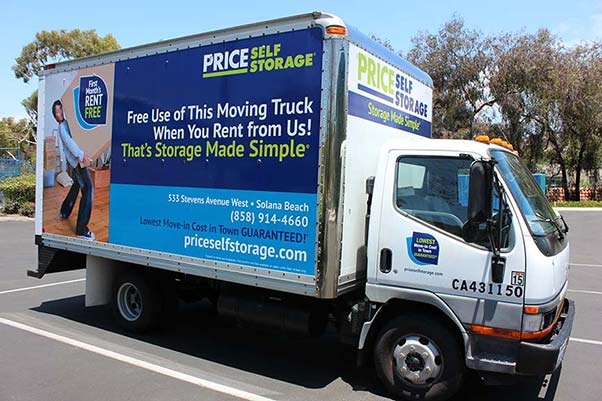
And, of course, if you still need more room, check out self-storage options at Price Self Storage.


