
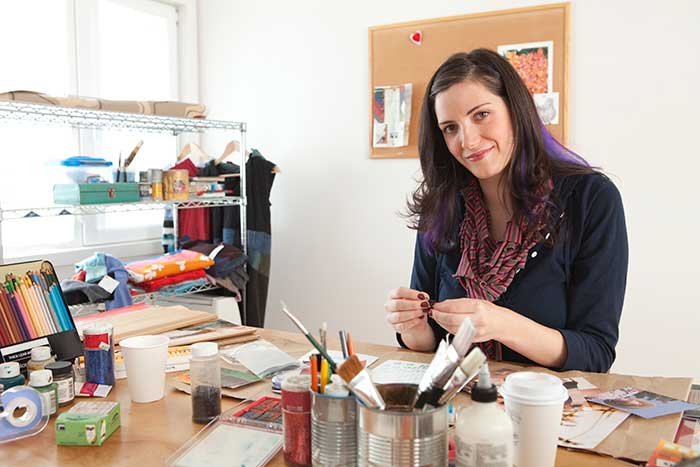
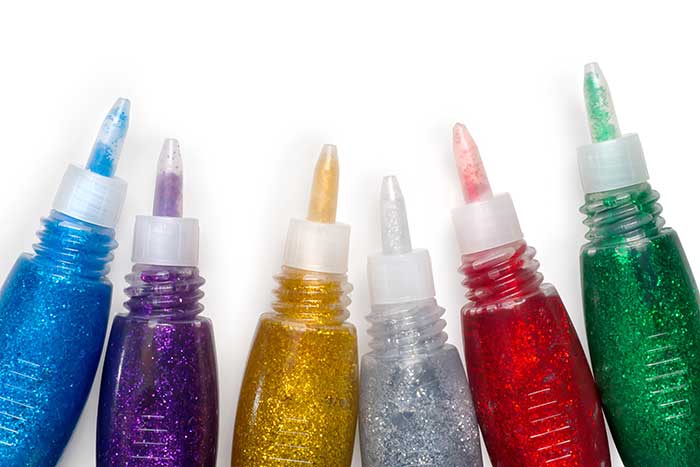
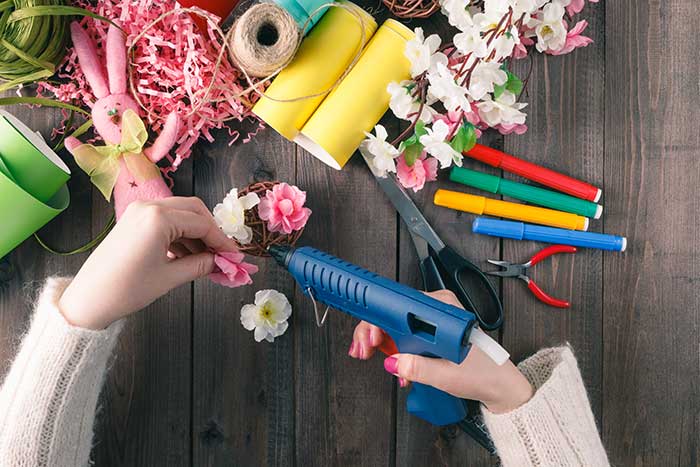
Yarn! Ribbon! Fabric! Thread! Paint! Brushes! Stencils! Stickers! Beads! Glitter! Anyone who’s into crafting knows how amazing the selection of sparkly, silky, and shiny craft supplies tends to be. Likewise, you’re also probably familiar with how frustrating it can be when you need very specific supplies but can’t find them anywhere in your stash. Sometimes the creative spirit inspires us so much that we accumulate bin after bin of crafting items, sometimes organized and sometimes not.
If you are fortunate enough to have a dedicated craft room, you’re ahead of the game… and probably even more overloaded with craft goodies than ever. Luckily, a few simple craft room organization tips can truly optimize your creative space.
16 Ways to Organize Your Craft Room
Craft Room Storage 101
Organizing your craft room is likely to be one of your favorite adventures around the home this season. It’s fun, rewarding, and inspiring as you get to reconnect with all of the different projects you’ve dreamed up over the years. You will feel great as you shred through the clutter and make plans for new projects, but above all, you’ll be all set for your holiday crafting come Christmastime. Here are some simple craft room tips to try.
- Begin your craft room makeover by taking inventory of your craft supply categories. List out the key groupings of supplies – like sewing, painting, beadwork, and more. Next, consider how you would best design a craft room storage system that accommodates each individual grouping of supplies. You might like to set up some drawers under your table for instant access to the materials you would use there. A well-designed closet affords effortless craft room storage and a nice and neat out-of-sight, out-of-mind appeal to your space.
- Look into craft organizers and plastic drawer sets offering compartments just the right size for your scrapbooking supplies or your glitter collection. If you have bins and boxes available, take the time to sort your supplies into these temporarily, prior to buying any new containers or shelves for your crafting space, so you can see at a glance just how much stuff you actually have.
- Make a shopping list that includes the types of storage containers and furniture you want to buy as well as any relevant requirements or dimensions. Put a little note of what kinds of craft supplies go into each receptacle so you can think and change your plans on the fly if you can’t find something on your list.
- Check out cases and containers designed for specific crafting supplies. Sewing boxes, crochet hook cases, and other sweet craft storage items make it easy to keep your space tidy long after your overhaul. If you haven’t already got them all, add a few of these to your list for Santa to bring along this holiday season.
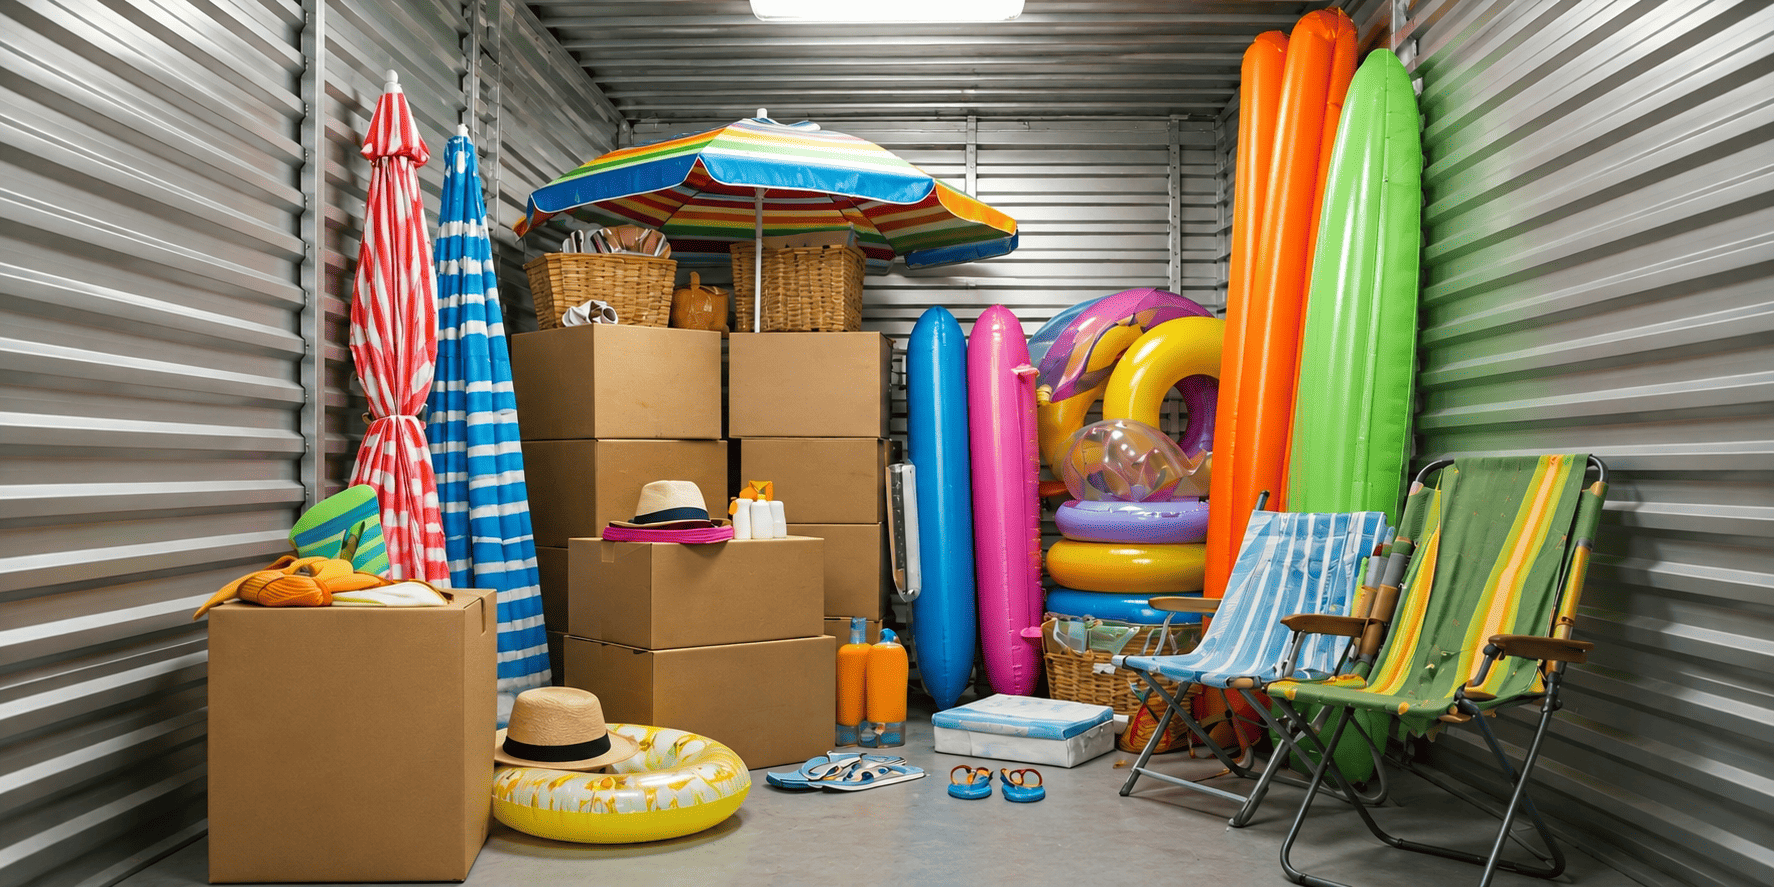
- Organizing craft supplies in a small space can be a bit more challenging. Pick up a couple of air-tight storage bins for any overflow items that may not fit into your neatly organized craft area. These items can take up residence in your attic or garage, or you can safely and conveniently stow them offsite at a personal storage unit that helps to keep your home as clutter-free as possible.
DIY Craft Storage
Your craft room organization project doesn’t have to cost a bundle! You can save a little money by focusing on DIY craft room storage ideas that allow you to repurpose items you likely already have on hand. Try these clever craft room ideas to get your space organized in no time.
- Tic-Tac boxes and other small containers offer excellent storage for beads, sequins, and other tiny treasures.
- Hanging shoe organizers offer the perfect place to display your yarn, ribbons, and other supplies.
- Make a magnet board to hold all of your little craft supply containers. Hot glue magnets on the backs of containers and small baskets and you can reconfigure the supply board as much as you like!
- Hang up a pegboard for convenient craft room storage on the walls. Make use of buckets, baskets, pails, and shelves to really enhance this storage space.
- Get a set of cubbies and organize each one for a different craft type. Store craft items like buttons and beads in mason jars along the top of your shelving for an added bit of eye-catching pizzazz for the room.
- Add a tabletop lazy Susan for craft items you use on a regular basis.
- Store rolls of ribbon on paper towel holders on your wall or on the back of a door.
- Repurpose toolboxes, cosmetics cases, and other kits for simple storage.
- File away your fabric and patterns in filing cabinets you’re no longer using.
- Swap spices for spools (of thread) in a vintage spice rack you pick up secondhand.
- Create an art cart with your most-used supplies. You can paint it to brighten it up and then organize all of your items in small jars, pen cups, baskets, and other organizers for instantly gratifying craft storage. Make sure it has wheels so you can roll from one craft area to the next!
When it comes to DIY organization, crafts make for a truly enjoyable home improvement focus. Your finished result will give you a creative and inspiring place to spend time doing what you love. You will be able to find your needed items at a moment’s notice, and you will probably be even more prolific in completing crafts and moving onto new ones. The craft room makeover is a huge win-win all around, and remember, a little organization goes a long way, no matter how big or small your crafting space happens to be.


